This is how you add RIVUS360 as a connector in Claude. The steps apply to the desktop app (macOS and Windows) and to claude.ai in the browser. Setup takes about two minutes.
You need your connector address, for example https://yourcompany.rivus360.de/mcp – see Set up the AI connector.
Note: The screenshots show Claude with a German interface. The English labels are given in the text.
1. Open connectors
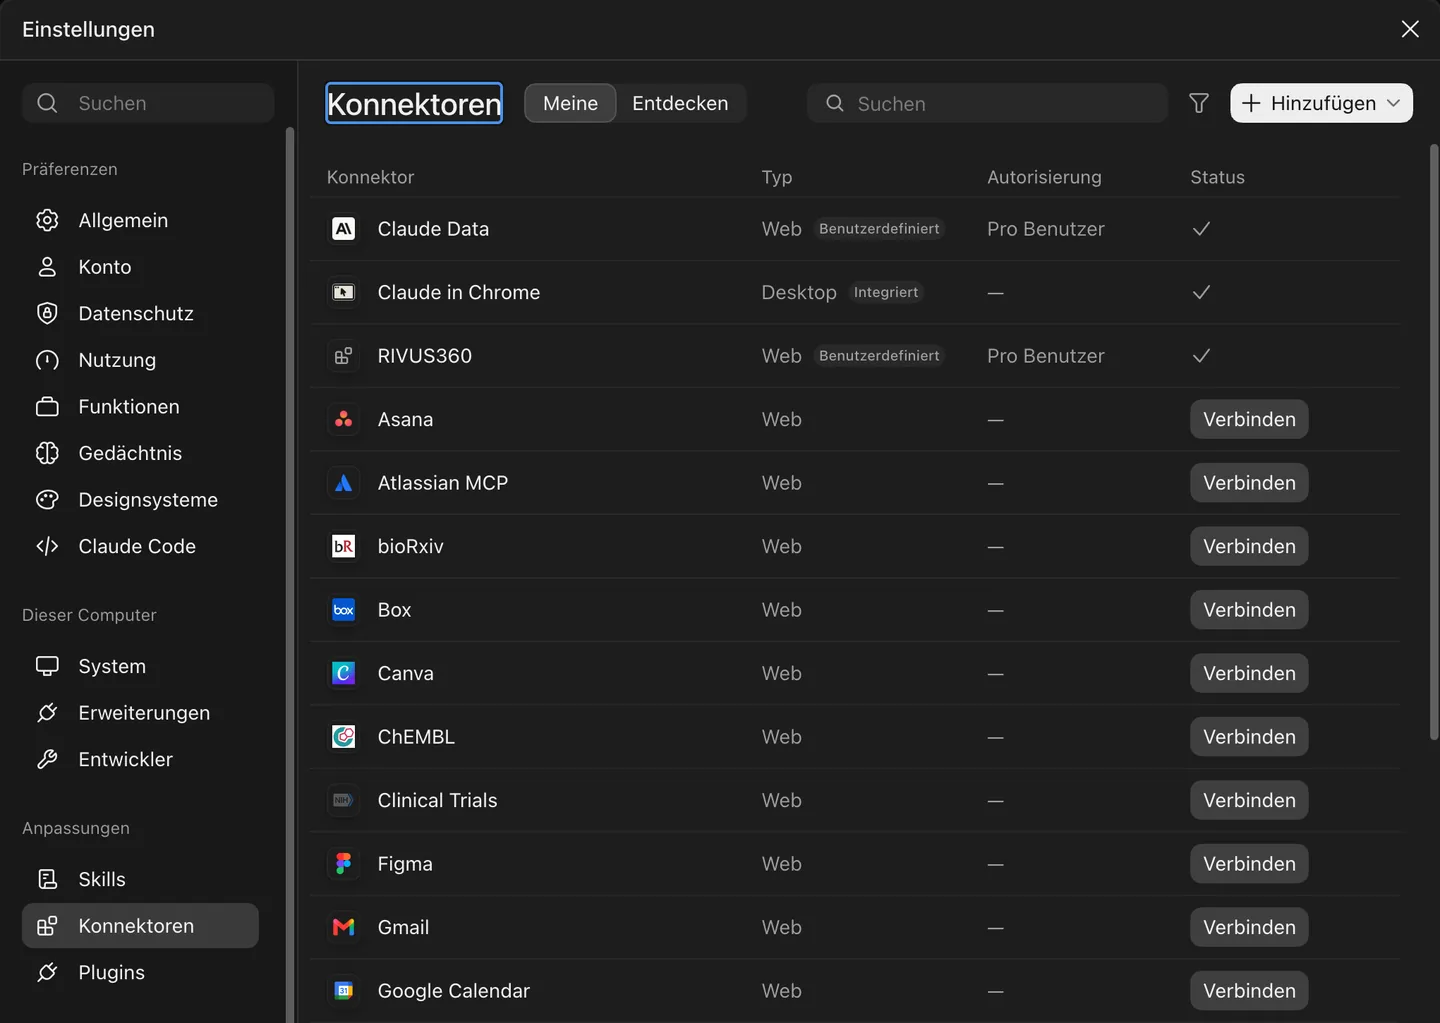
In Claude, open the menu with your name at the bottom left and choose Settings → Connectors. In the browser you can also go to claude.ai → Settings → Connectors.
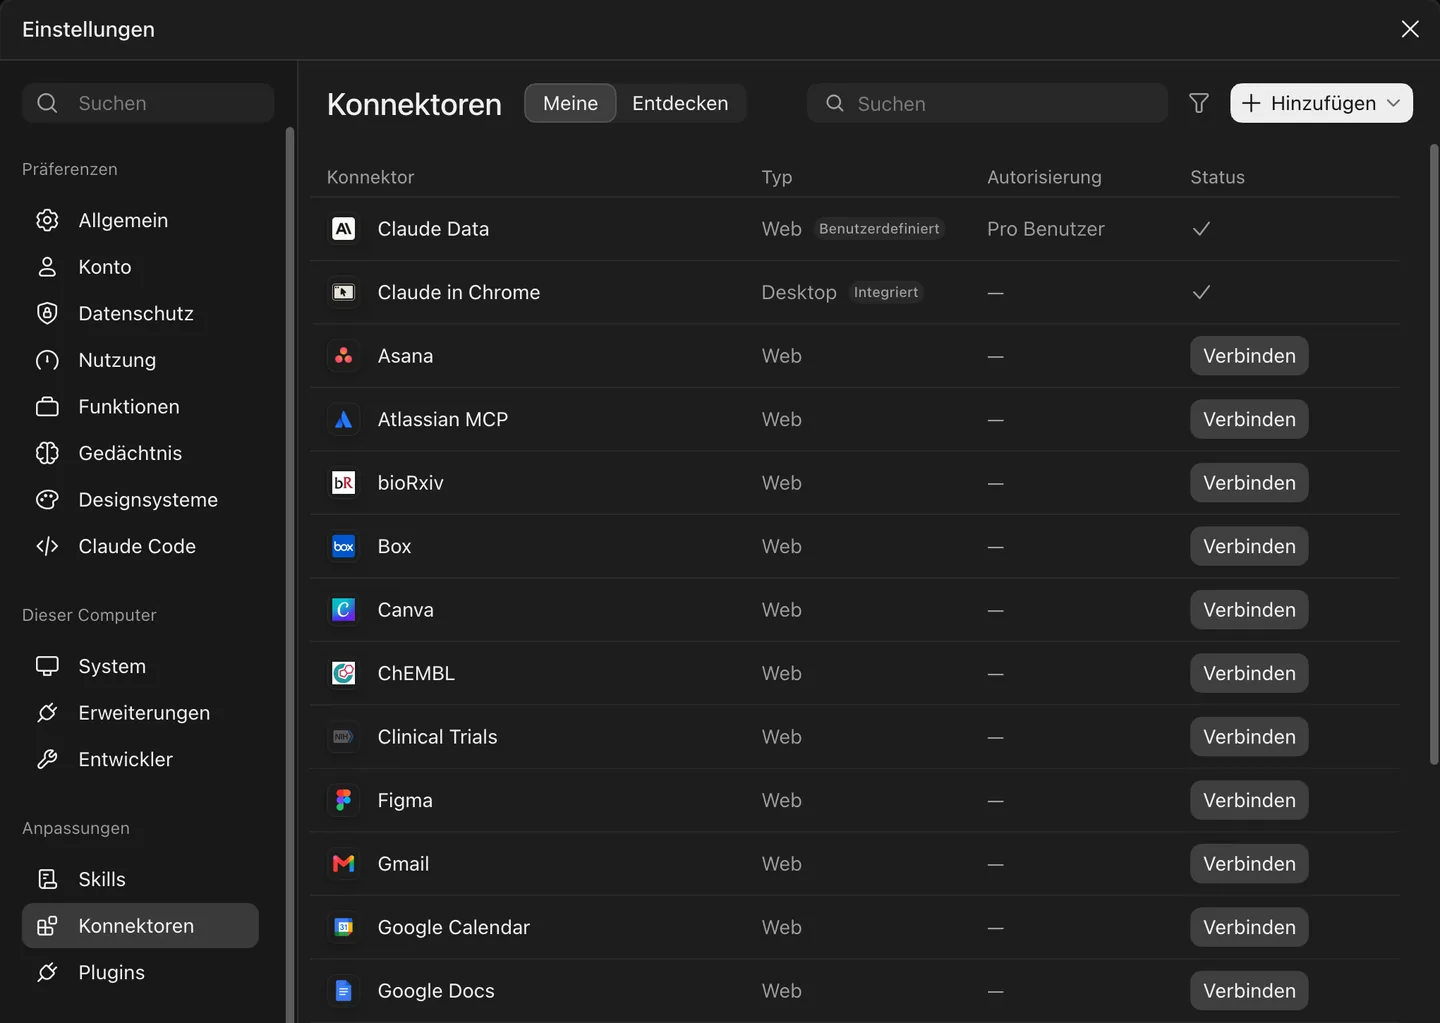
Click Add at the top right and choose Add custom connector.
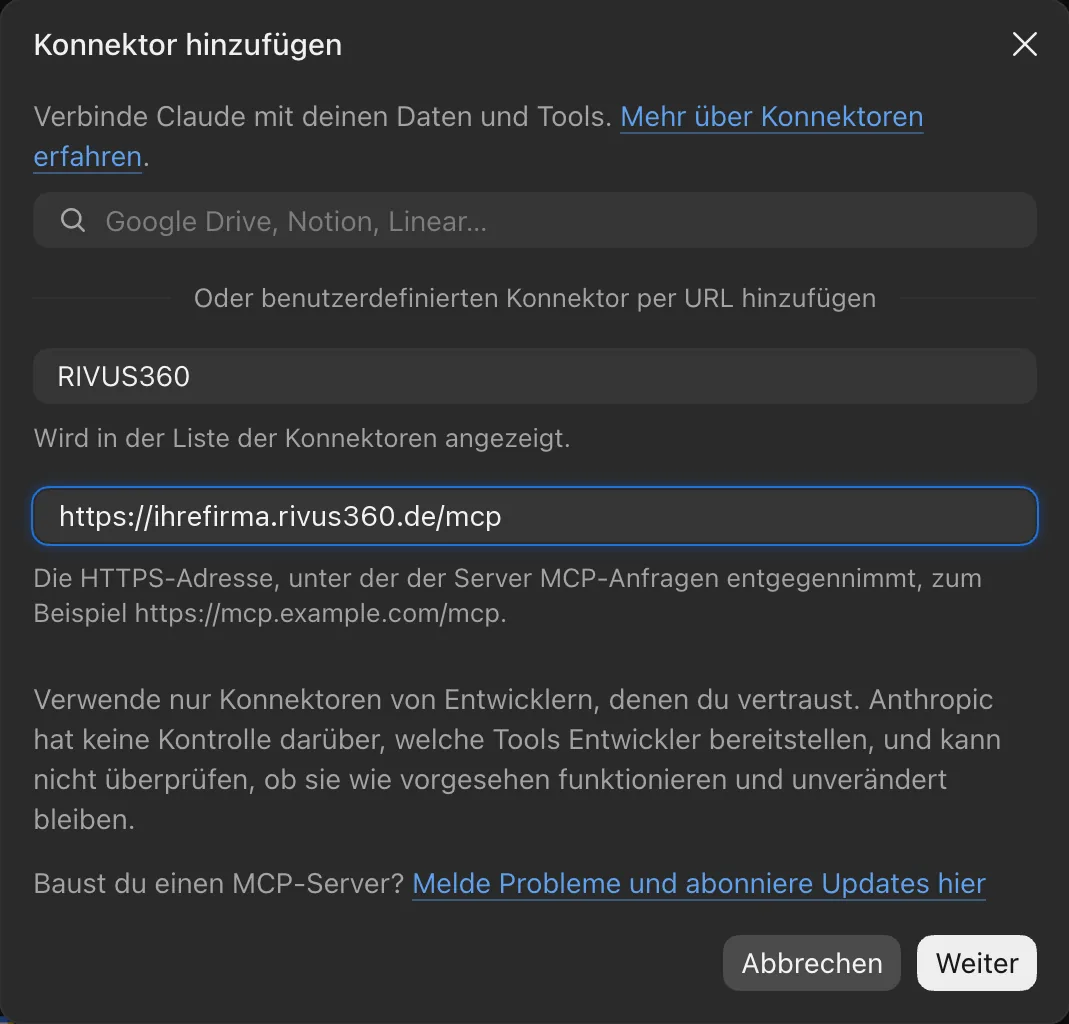
2. Enter name and address
- Name:
RIVUS360– this is how the connector appears in Claude. - URL: your connector address, e.g.
https://yourcompany.rivus360.de/mcp.
Make sure it starts with https:// and ends with /mcp. Then click Continue.
3. Keep the sign-in method
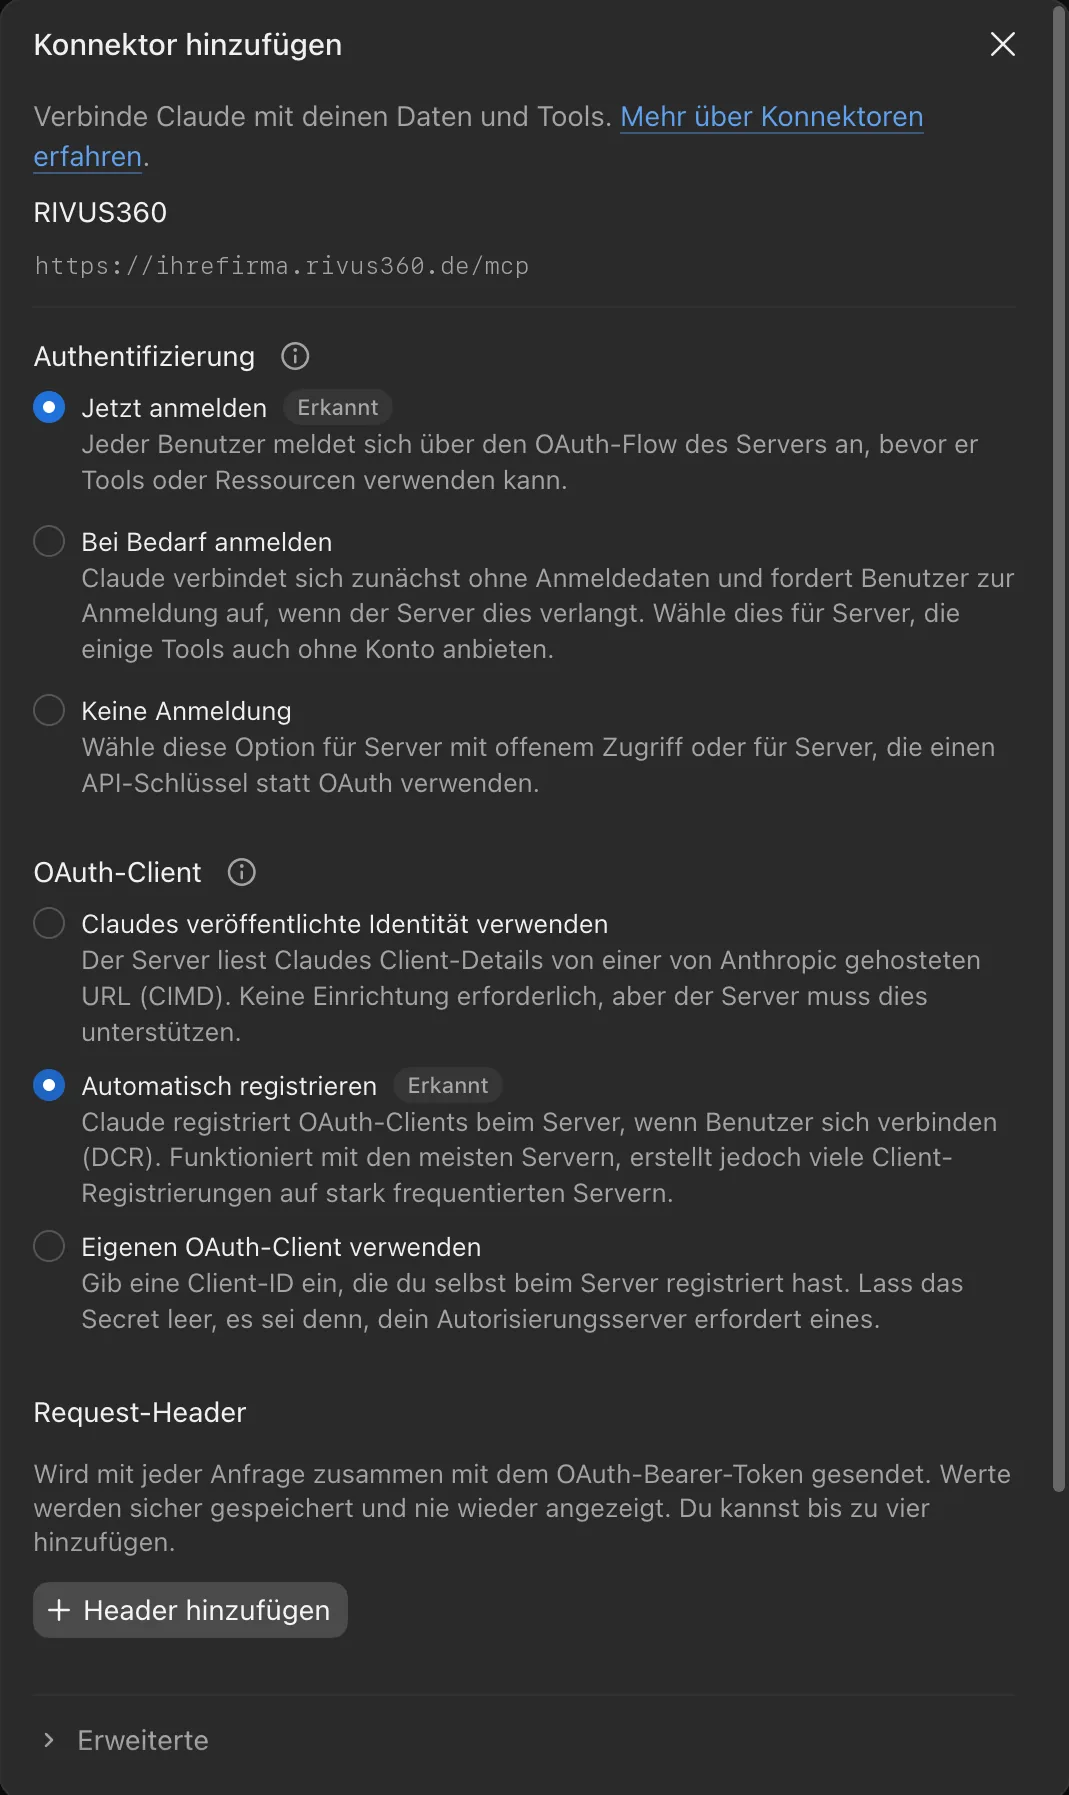
Claude detects RIVUS360's sign-in by itself. Keep the preselection:
- Authentication: Sign in now (marked Detected)
- OAuth client: Register automatically (marked Detected)
You do not need request headers or the Advanced settings. Do not enter passwords or keys there.
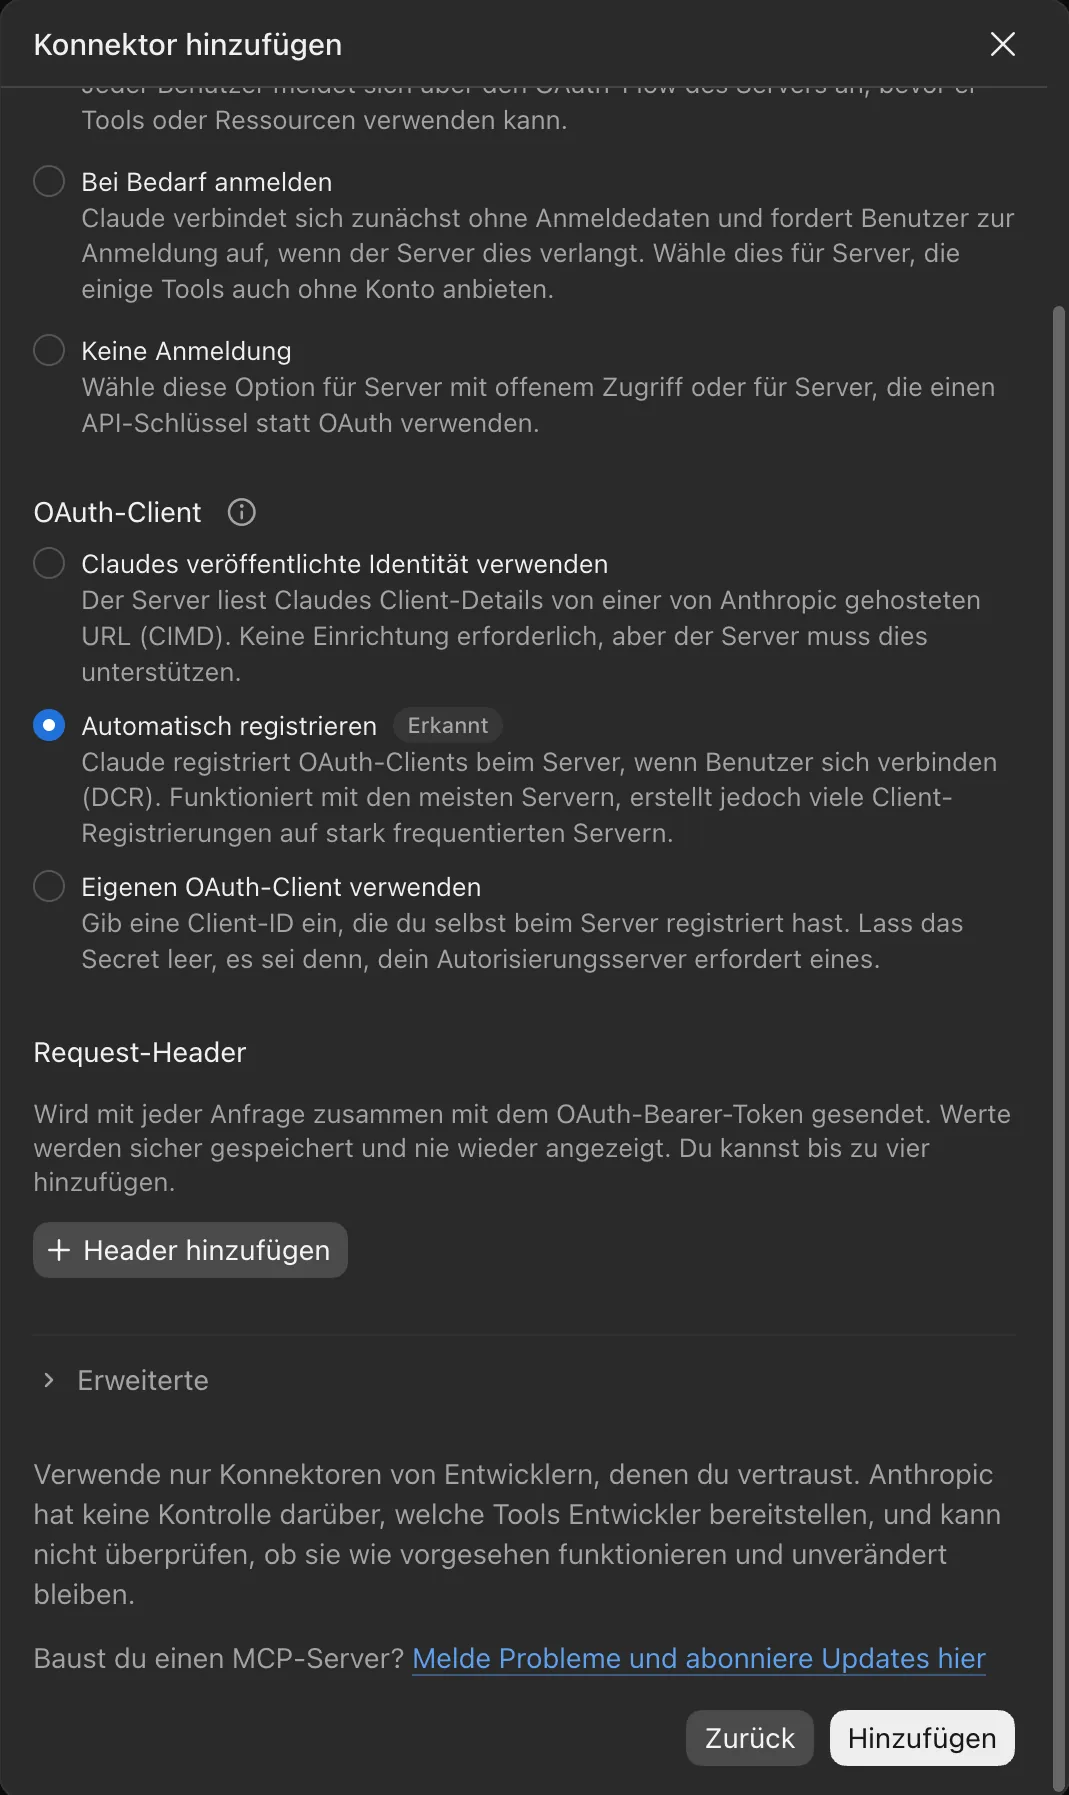
Scroll down and click Add.
4. Connect
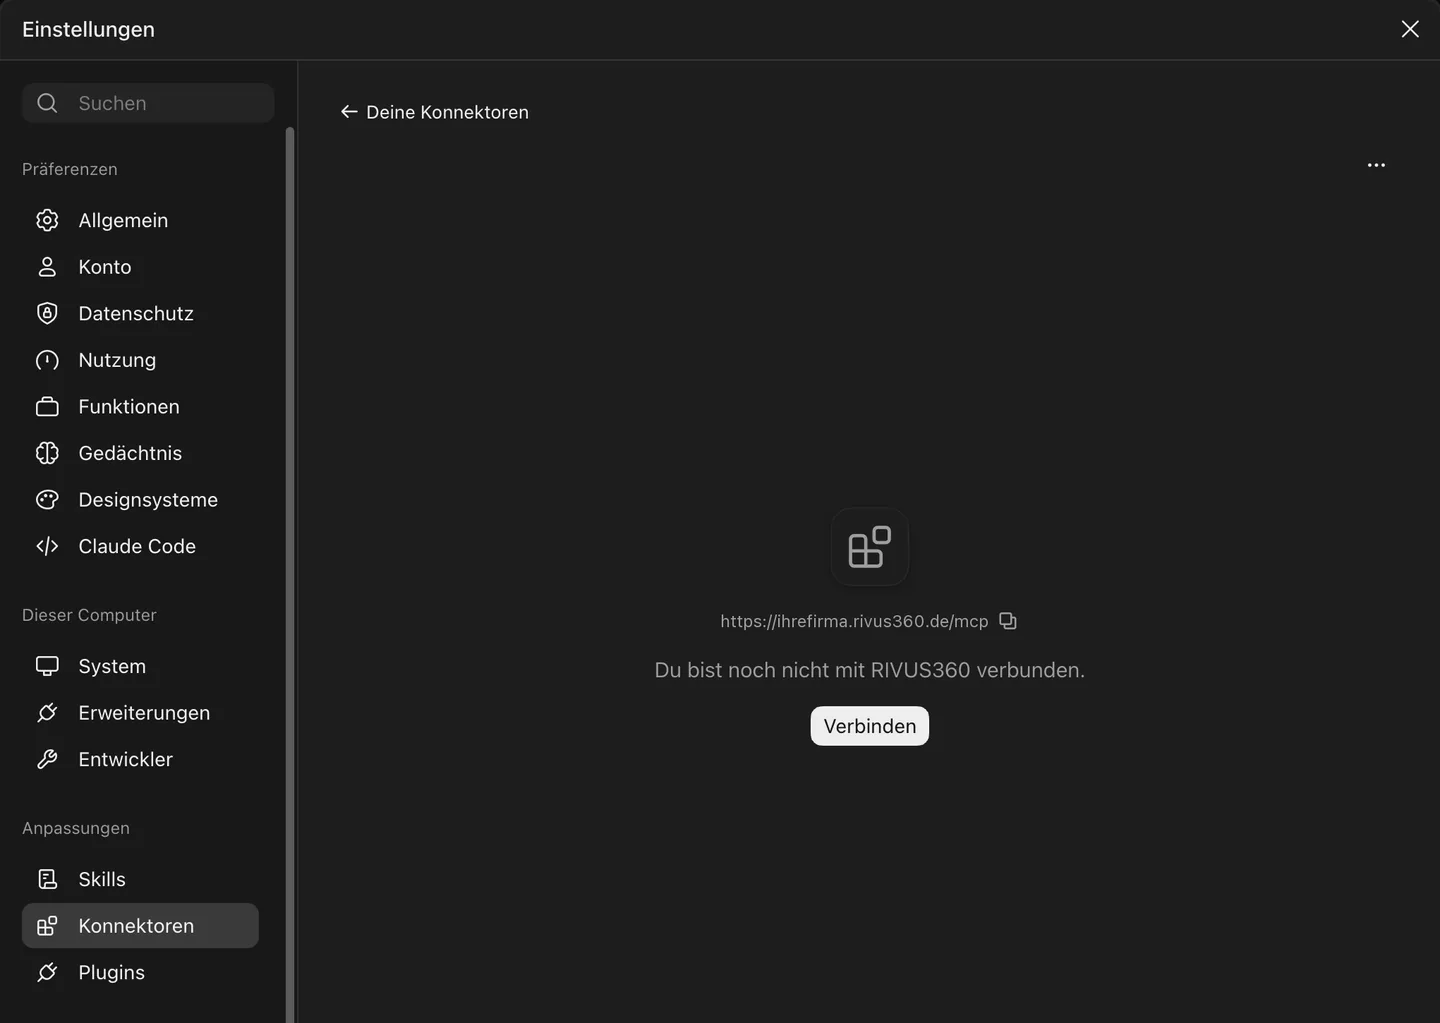
Claude now shows that you are not yet connected to RIVUS360. Click Connect. Your browser opens your platform's sign-in page.
5. Sign in to RIVUS360
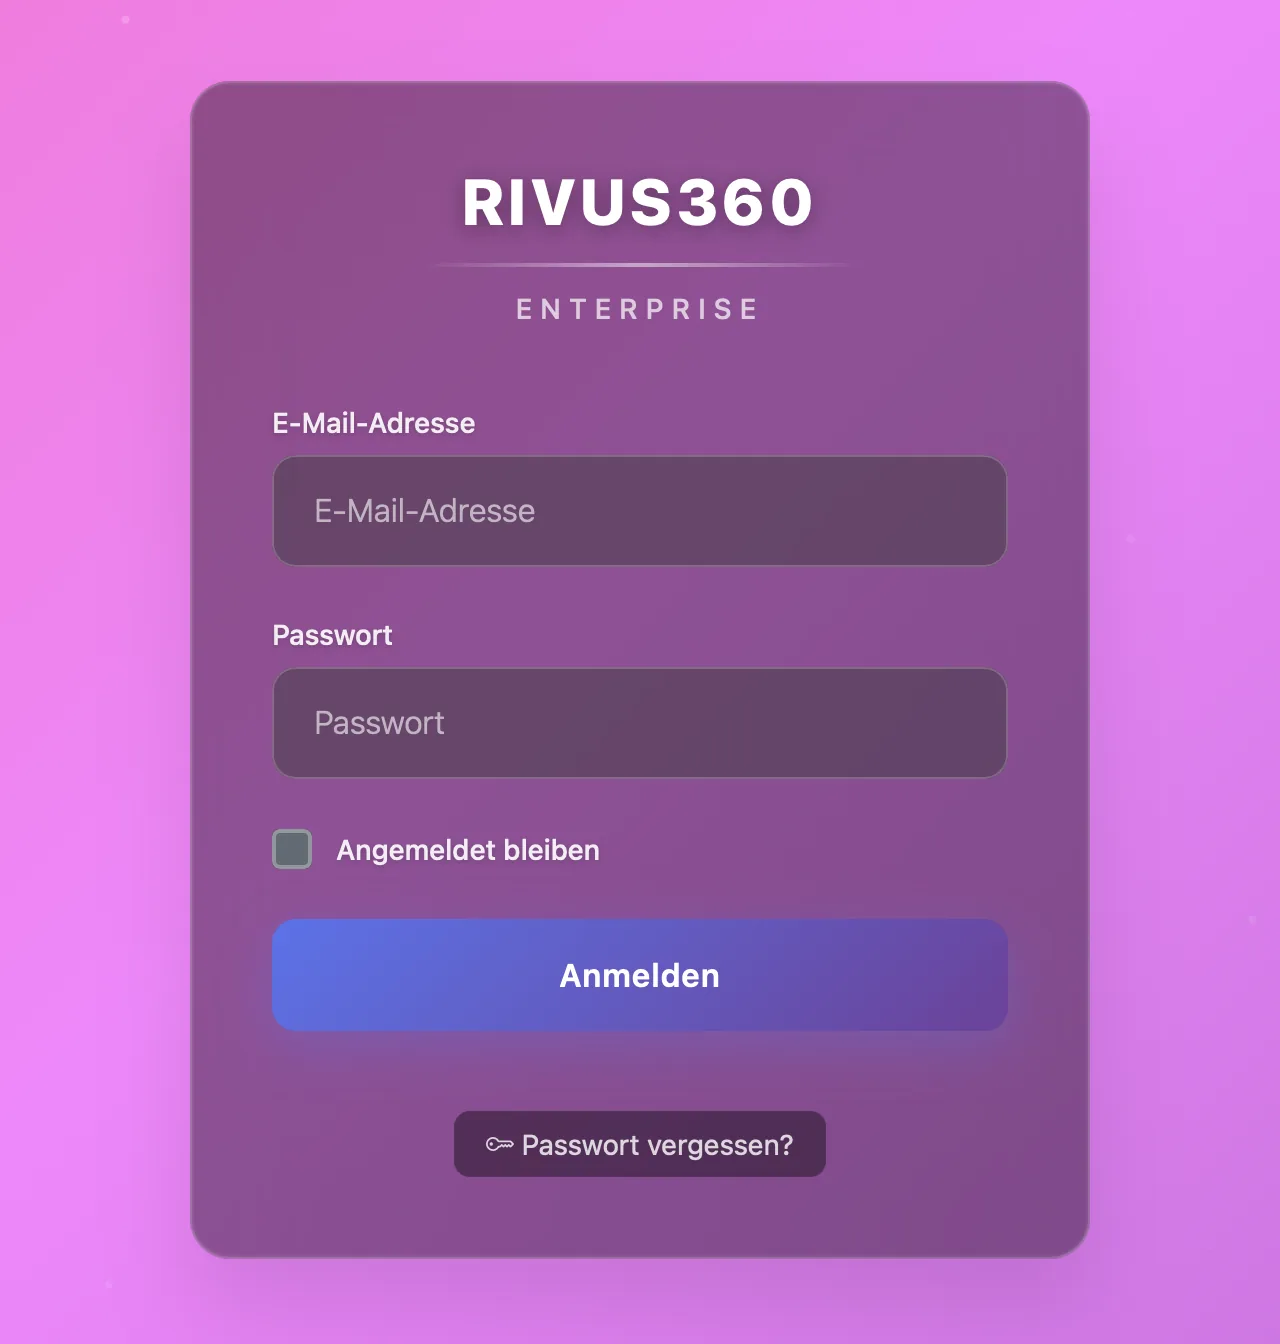
Sign in with your usual RIVUS360 account – email address, password and, if set up, your two-factor code. If you are already signed in in the browser, this step is skipped.
6. Allow access
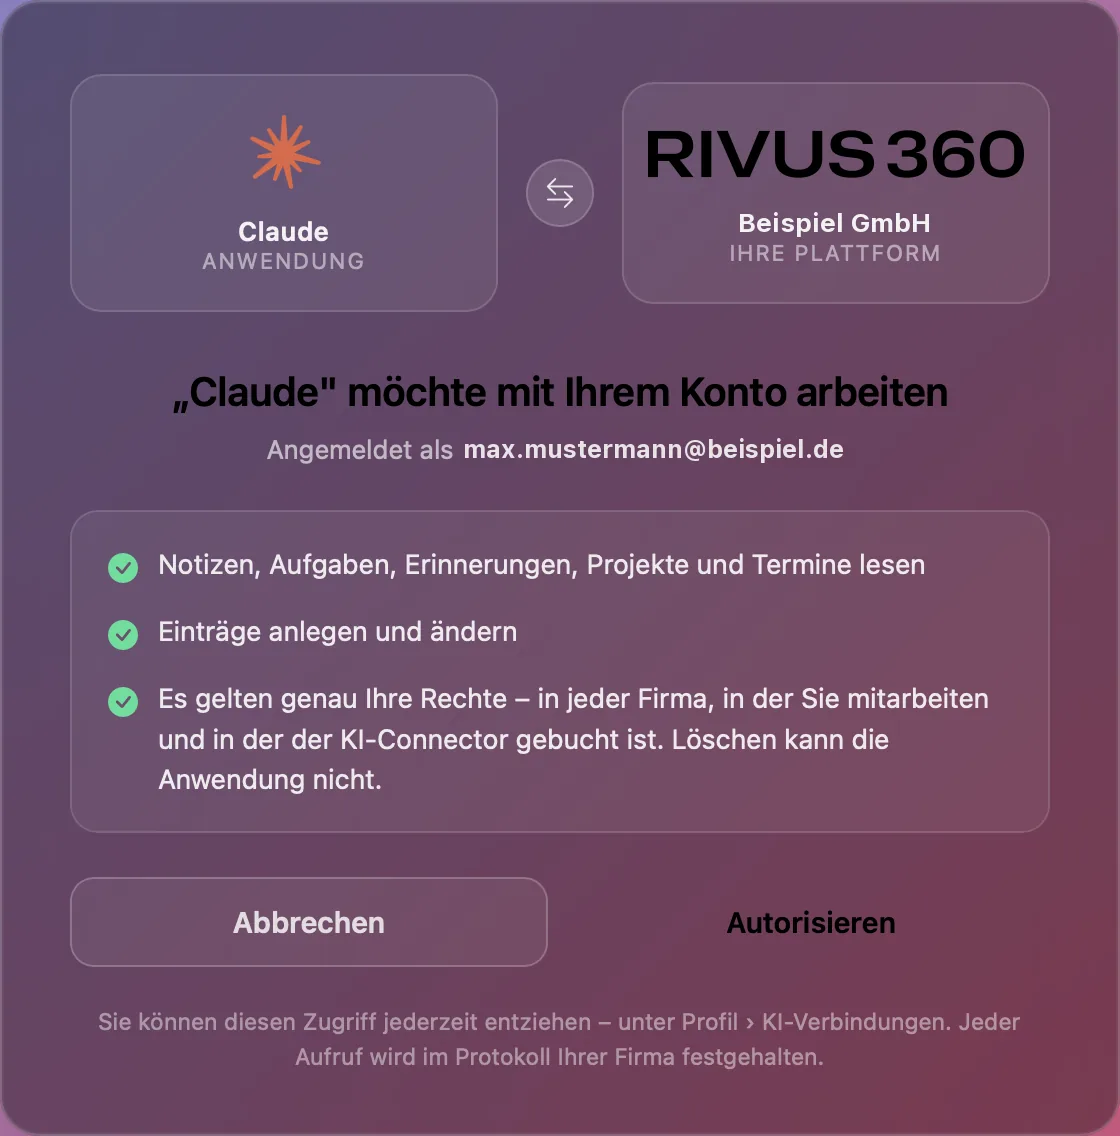
RIVUS360 shows what Claude may do with your account. Check that your account is shown at the top and click Authorize.
7. Back to Claude
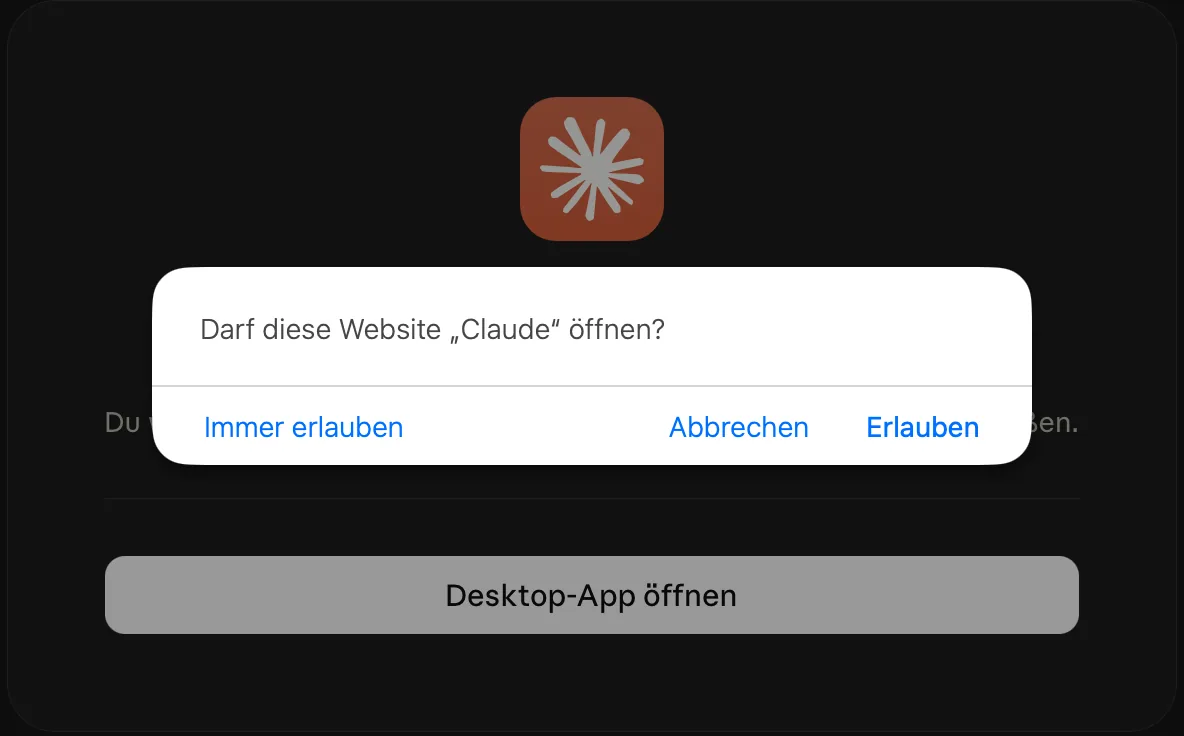
If you use the desktop app, the browser asks whether it may open Claude. Click Allow. On claude.ai in the browser this step does not apply.
The connector list now shows RIVUS360 with a check mark.
8. Use it in a chat
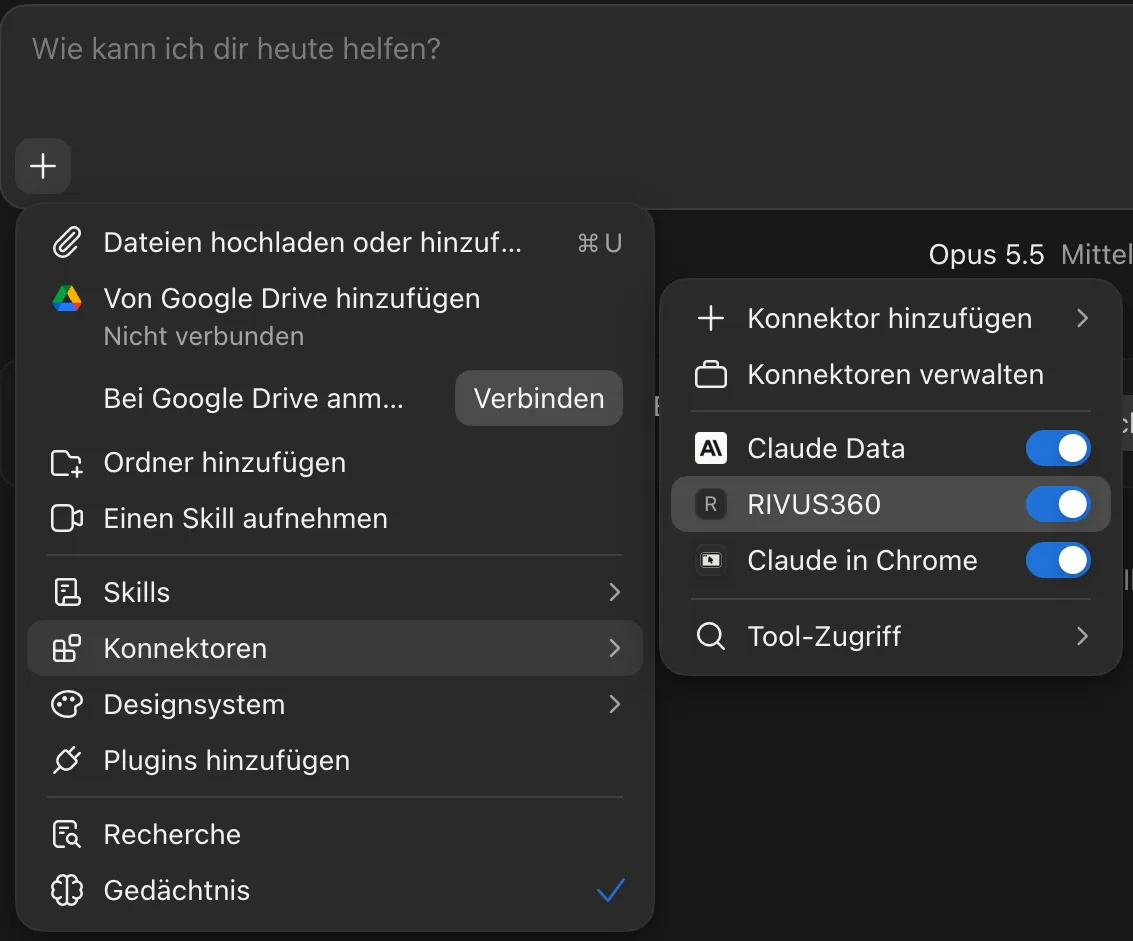
In a new chat, click + → Connectors and make sure the switch next to RIVUS360 is on.
Then simply ask in your own words, for example:
- "Which of my tasks are due this week?"
- "Summarise my notes on the office move project."
- "Create a task: follow up on the quote to Miller Ltd by Friday."
Depending on your Tool access setting, Claude asks for permission before it uses a RIVUS360 tool.
Note: In Claude organisations (Team or Enterprise), an owner may first have to add the connector under Organization settings → Connectors. After that, every member connects with their own RIVUS360 account as in step 4.
Troubleshooting
| Message or behaviour | Cause and fix |
|---|---|
| Claude does not detect the sign-in | Check the address: https:// at the start, /mcp at the end, no spaces. |
| Nothing happens after Authorize | In the desktop app, confirm the browser dialog to open Claude. |
| "not booked" | The AI connector is not booked for your company – ask your administrator. |
| Claude can read but not create | mcp.write is missing, or Allow writing is off – see Enable and control the AI connector. |
| You want to end the connection | In RIVUS360, go to Profile → Apps → AI connections and click Revoke access. |